
Basics
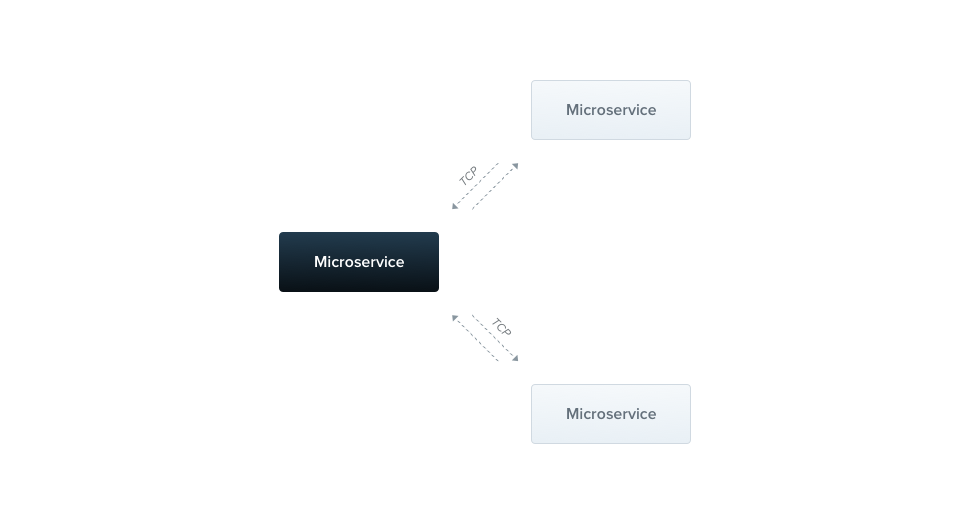
The Nest microservice is a type of application that uses a different transport layer than HTTP.
Installation
Firstly, we need to install the required package:
$ npm i --save @nestjs/microservicesOverview
In general, Nest supports a bunch of built-in transporters. They are based on request-response paradigm and a whole communication logic is hidden behind an abstraction layer. Thanks to that you can easily switch between transporters without changing any line of your code. We don't support streaming platforms with log based persistance, such as Kafka or NATS streaming because they have been created to solve a different range of issues. However, you can still use them with Nest by making use of execution context feature.
In order to create a microservice, we use createMicroservice() method of the NestFactory class. By default, a microservice listens on messages via TCP protocol.
import { NestFactory } from '@nestjs/core';
import { Transport } from '@nestjs/microservices';
import { ApplicationModule } from './app.module';

async function bootstrap() {
  const app = await NestFactory.createMicroservice(ApplicationModule, {
    transport: Transport.TCP,
  });
  app.listen(() => console.log('Microservice is listening'));
}
bootstrap();
The second argument of the createMicroservice() method is an options object. This object may have two members:
transport | Specifies the transporter |
options | A transporter-specific options object that determines transporter behaviour |
The options object is different depending on chosen transporter. A TCP transporter exposes few properties described below.
host | Connection hostname |
port | Connection port |
retryAttempts | A total amount of connection attempts |
retryDelay | A connection retrying delay (ms) |
Patterns
A microservice recognizes messages through patterns. The pattern is a plain value, for example, a literal object, string, or a symbol. In order to create a pattern handler, we use the @MessagePattern() decorator which is imported from the @nestjs/microservices package.
import { Controller } from '@nestjs/common';
import { MessagePattern } from '@nestjs/microservices';

@Controller()
export class MathController {
  @MessagePattern({ cmd: 'sum' })
  sum(data: number[]): number {
    return (data || []).reduce((a, b) => a + b);
  }
}
import { Controller } from '@nestjs/common';
import { MessagePattern } from '@nestjs/microservices';

@Controller()
export class MathController {
  @MessagePattern({ cmd: 'sum' })
  sum(data) {
    return (data || []).reduce((a, b) => a + b);
  }
}
The sum() handler is listening to messages that fulfil the cmd: 'sum' pattern. The pattern handler takes a single argument, the data passed from the client. In this case, the data is an array of numbers which has to be accumulated.
Asynchronous responses
Each pattern handler is able to respond either synchronously or asynchronously. Hence, async methods are supported.
@MessagePattern({ cmd: 'sum' })
async sum(data: number[]): Promise<number> {
  return (data || []).reduce((a, b) => a + b);
}
@MessagePattern({ cmd: 'sum' })
async sum(data) {
  return (data || []).reduce((a, b) => a + b);
}
Additionally, we are able to return the Rx Observable, and thus the values will be emitted until the stream is completed.
@MessagePattern({ cmd: 'sum' })
sum(data: number[]): Observable<number> {
  return from([1, 2, 3]);
}
@MessagePattern({ cmd: 'sum' })
sum(data) {
  return from([1, 2, 3]);
}
Above message handler will respond 3 times (with each item from the array).
Client
In order to connect with the Nest microservice, we are using the ClientProxy class which instance is assigned to a property through @Client() decorator. This decorator takes a single argument. It is the same object as a Nest microservice options object.
@Client({ transport: Transport.TCP })
client: ClientProxy;
Hint Both@Client()decorator andClientProxyclass are imported from the@nestjs/microservicespackage.
Another solution would be to manually create the ClientProxy instance using the ClientProxyFactory (exported from @nestjs/microservices package).
constructor() {
  this.client = ClientProxyFactory.create({
    transport: Transport.TCP
  });
}
The ClientProxy is lazy. It doesn't initiate a connection immediately. Instead, it will be established before the first microservice's call, and then reused across each subsequent call. However, if you want to delay an application's bootstrapping process and manually initialize a connection, you can use a connect() method inside the OnModuleInit lifecycle hook.
async onModuleInit() {
  await this.client.connect();
}
If the connection cannot be created, the connect() method will reject with the corresponding error object.
The ClientProxy exposes a send() method. This method is intended to call the microservice and returns the Observable with its response, meaning, we can subscribe to the emitted values easily.
@Get()
call(): Observable<number> {
  const pattern = { cmd: 'sum' };
  const payload = [1, 2, 3];
  return this.client.send<number>(pattern, payload);
}
@Get()
call() {
  const pattern = { cmd: 'sum' };
  const payload = [1, 2, 3];
  return this.client.send(pattern, payload);
}
The send() method takes 2 arguments, pattern and payload. The pattern has to be equal to this one defined in the @MessagePattern() decorator, while payload is a message that we want to transmit to another microservice.