
CI/CD integration
Hint This chapter covers the Nest Devtools integration with the Nest framework. If you are looking for the Devtools application, visit the Devtools website. CI/CD integration is available on the Enterprise plan.
Local usage is great for exploring your application as you build it, but the real payoff comes when Devtools becomes part of your delivery pipeline. CI/CD integration publishes a snapshot of your application's graph on every build. You get a running history of how your architecture evolves and, more importantly, an automatic report on every pull request that shows exactly what changed structurally. It's the difference between hoping a refactor didn't break anything and knowing it didn't.
See why teams rely on CI/CD integration to catch architectural drift before it ships:
Publishing graphs#
First, wire up the application bootstrap file (main.ts) to use the GraphPublisher class, exported from @nestjs/devtools-integration (see the Devtools overview if you haven't installed it yet):
async function bootstrap() {
  const shouldPublishGraph = process.env.PUBLISH_GRAPH === 'true';

  const app = await NestFactory.create(AppModule, {
    snapshot: true,
    preview: shouldPublishGraph,
  });

  if (shouldPublishGraph) {
    await app.init();

    const publishOptions = { ... } // NOTE: this options object will vary depending on the CI/CD provider you're using
    const graphPublisher = new GraphPublisher(app);
    await graphPublisher.publish(publishOptions);

    await app.close();
  } else {
    await app.listen(3000);
  }
}
Here, GraphPublisher pushes your serialized graph to the centralized registry. PUBLISH_GRAPH is a custom environment variable that distinguishes a CI/CD publish run from a regular application bootstrap. Setting preview to true bootstraps the application in preview mode, which means the constructors and lifecycle hooks of your controllers, enhancers, and providers don't execute. This isn't required, but it keeps CI runs fast and simple (no database connection needed, for example).
The shape of publishOptions depends on your CI/CD provider. The sections below cover the most popular ones. If your provider isn't listed, the underlying fields are the same everywhere, so you can adapt the configuration in minutes.
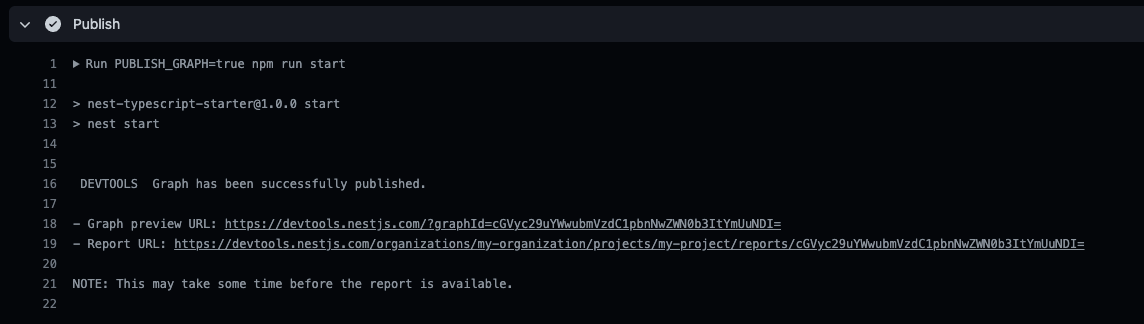
Once your graph publishes successfully, you'll see output like this in your workflow logs:
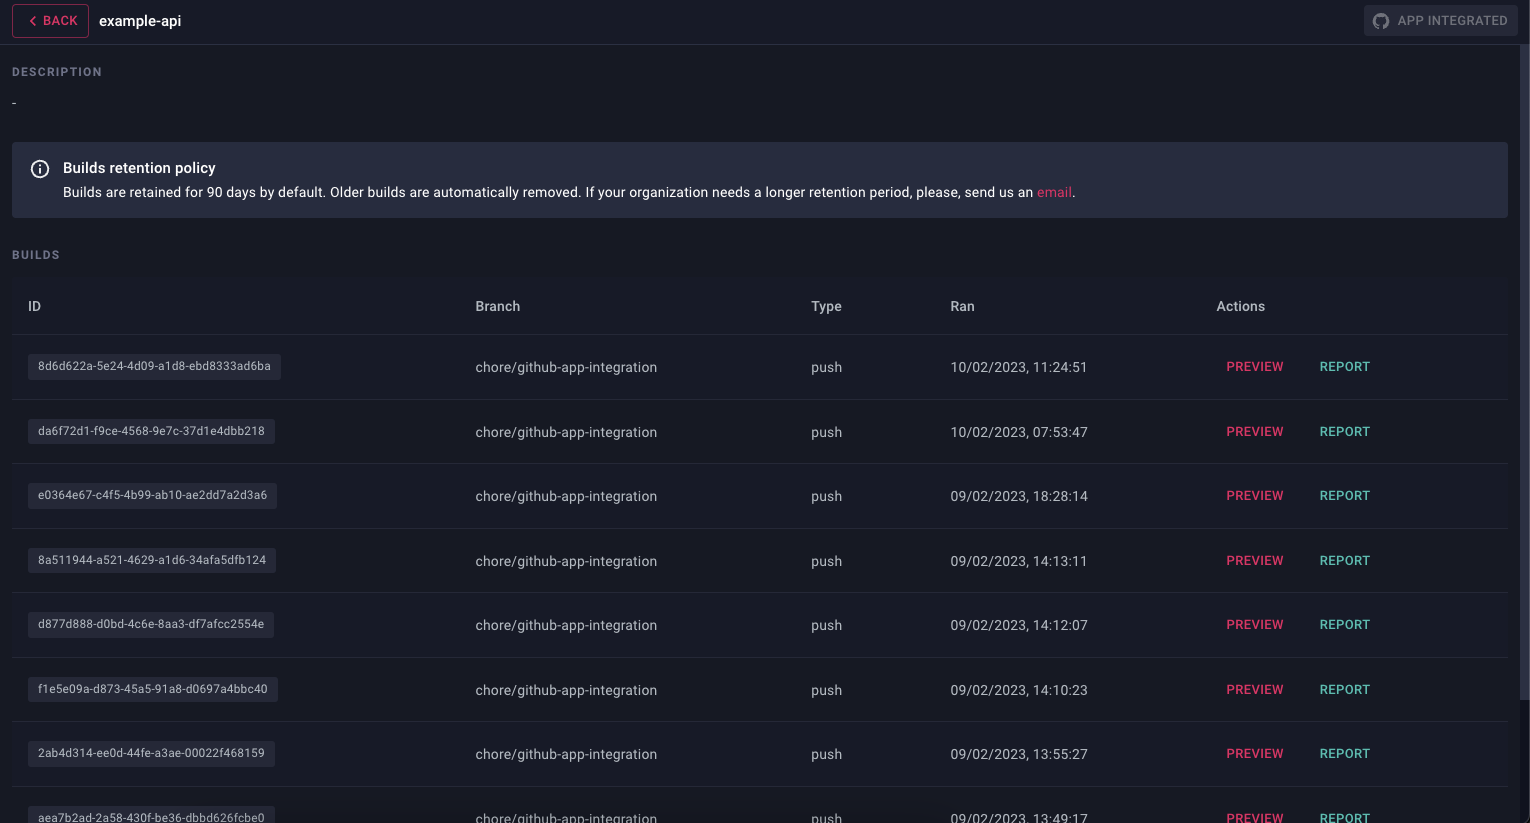
Every published graph shows up as a new entry on the project's page:
Reports#
Devtools generates a report for every build, as long as a matching snapshot already exists in the registry. If you open a pull request against master and a graph for master was already published, Devtools detects the differences and builds a report automatically. Otherwise, there's nothing to compare against yet.
Find your reports on the project's page (see organizations).
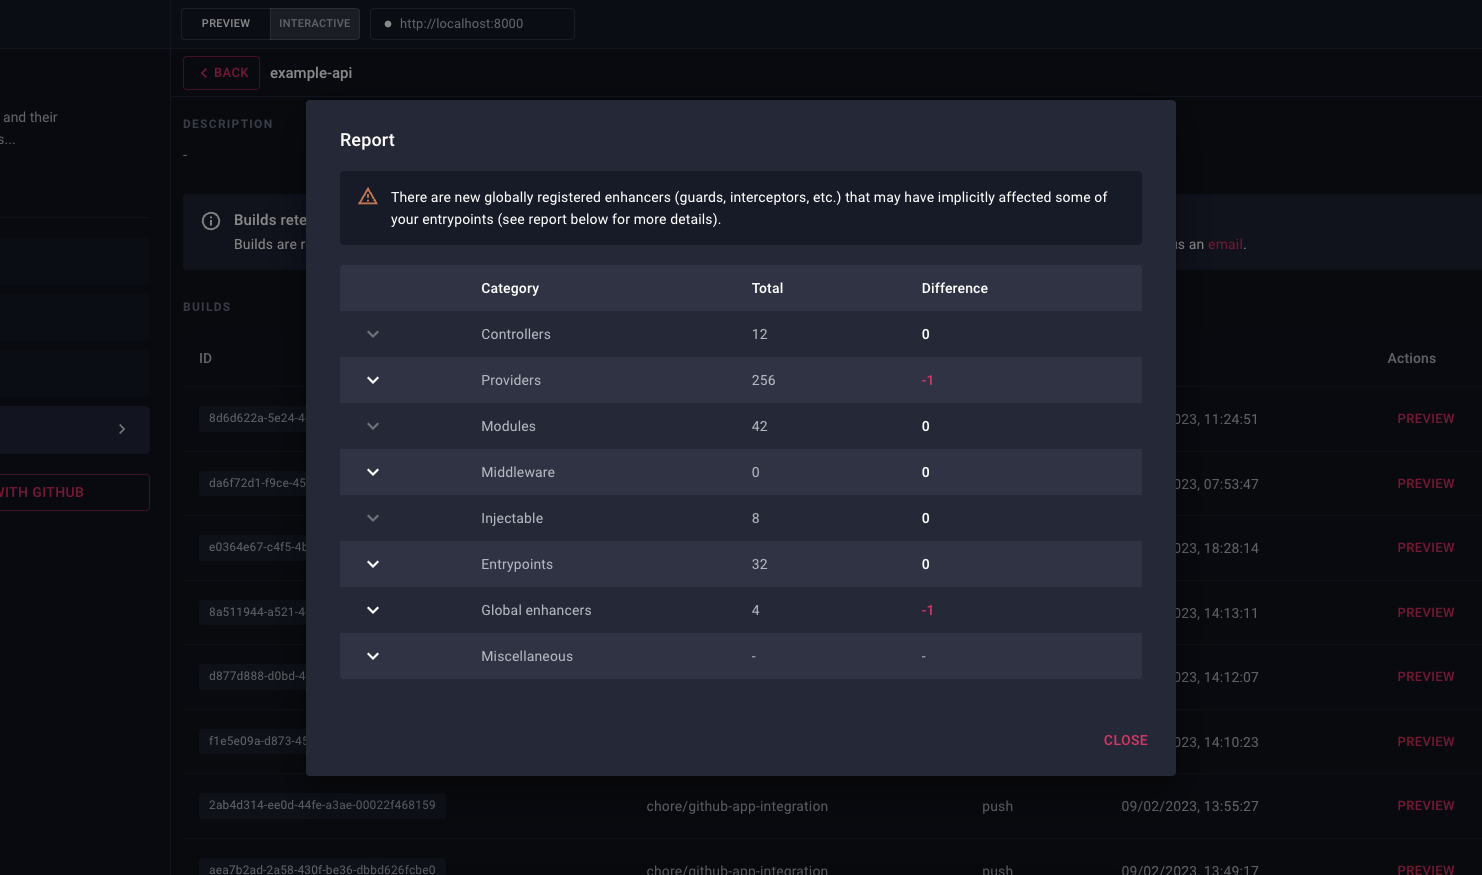
This is where Devtools really earns its keep: catching changes that slip past code review. Say someone quietly changes the scope of a deeply nested provider. That's easy to miss in a diff, and impossible to miss in a report. Remove a guard from an endpoint, and it shows up as an affected change immediately. If integration or e2e tests didn't cover that route, you might not have noticed until it was too late. Devtools catches it at review time instead.
The same goes for large codebases: make a module global, and you immediately see how many new edges landed on the graph, usually a strong signal that something needs a second look.
Reports are also a great artifact to link in your pull request description. Instead of asking a reviewer to trust that "this only touches the billing module," you can point them at the exact set of nodes and edges that changed, turning an architectural claim into something they can verify in seconds.
Build preview#
You can replay every published graph: click Preview to see exactly how it looked at that point in time. When a report is available, differences are highlighted directly on the graph:
- green nodes represent added elements
- light white nodes represent updated elements
- red nodes represent deleted elements
Here's what that looks like:
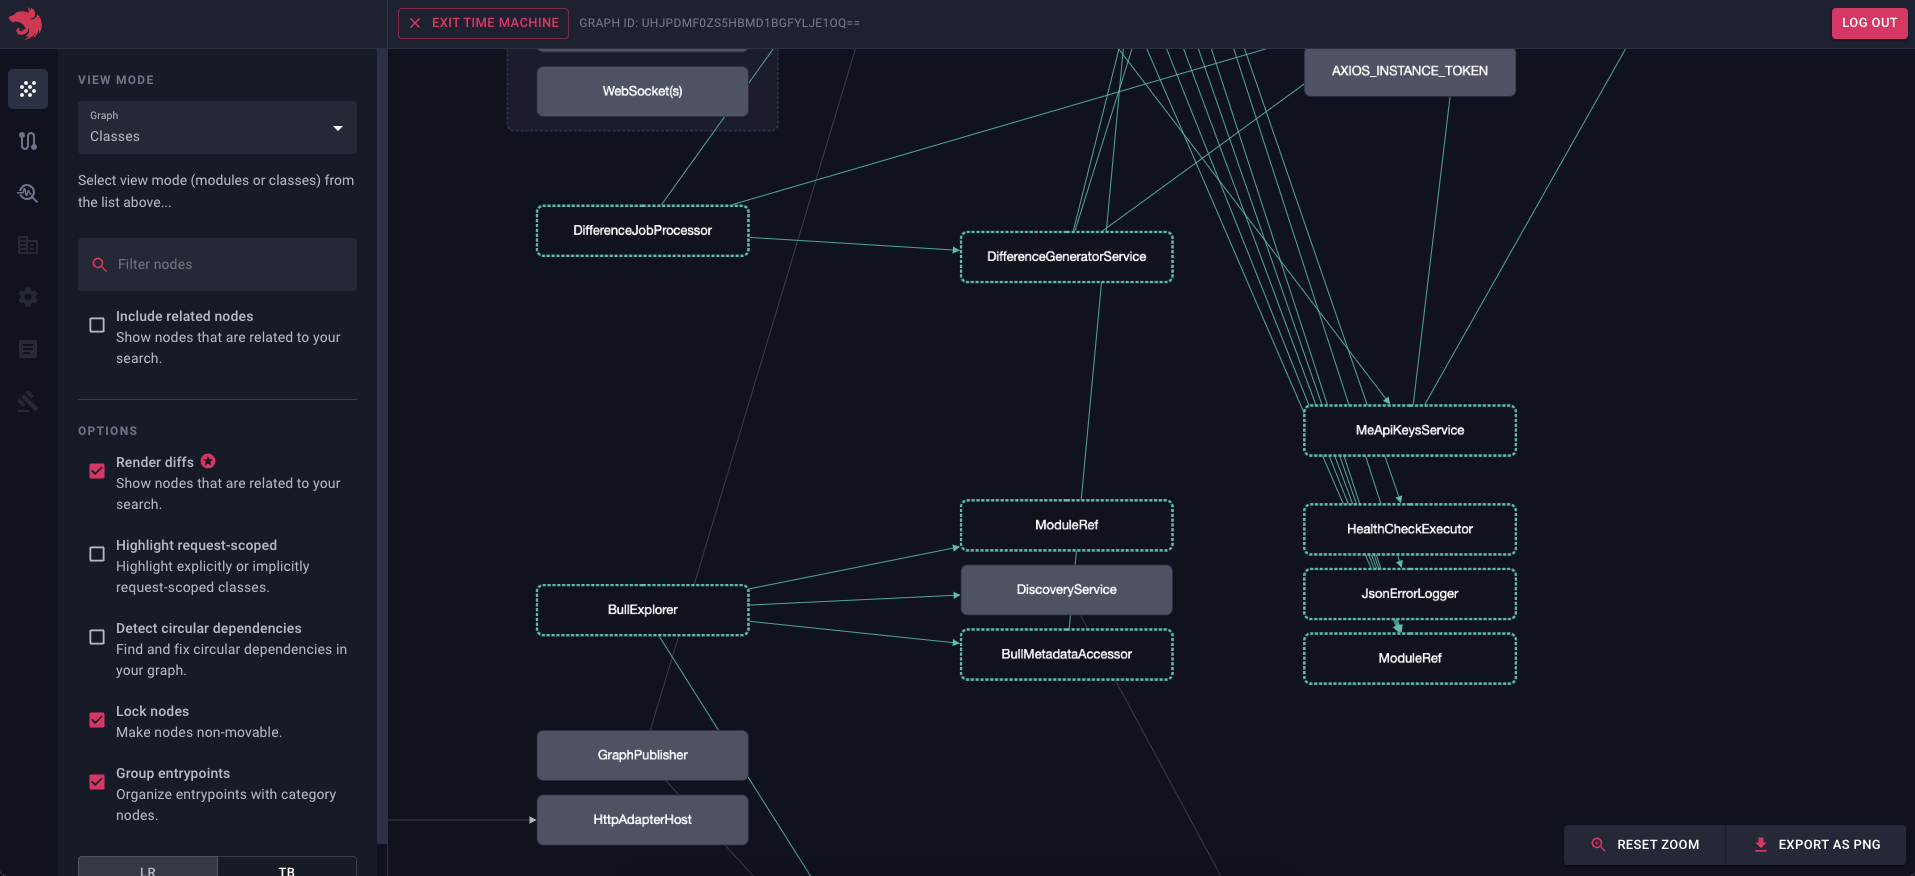
Being able to rewind and compare graphs makes troubleshooting straightforward, with no more guessing what changed and when. Set things up so that every pull request (or even every commit) gets its own snapshot in the registry, and you'll always have a clear trail to follow. Think of Devtools as version control that understands how Nest assembles your application, and can show you the difference instead of just describing it.
Integrations: GitHub Actions#
Create a new workflow file in .github/workflows (for example, publish-graph.yml) with the following content:
name: Devtools

on:
  push:
    branches:
      - master
  pull_request:
    branches:
      - '*'

jobs:
  publish:
    if: github.actor != 'dependabot[bot]'
    name: Publish graph
    runs-on: ubuntu-latest
    steps:
      - uses: actions/checkout@v4
      - uses: actions/setup-node@v4
        with:
          node-version: '22'
          cache: 'npm'
      - name: Install dependencies
        run: npm ci
      - name: Setup Environment (PR)
        if: ${{ github.event_name == 'pull_request' }}
        shell: bash
        run: |
          echo "COMMIT_SHA=${{ github.event.pull_request.head.sha }}" >>\${GITHUB_ENV}
      - name: Setup Environment (Push)
        if: ${{ github.event_name == 'push' }}
        shell: bash
        run: |
          echo "COMMIT_SHA=\${GITHUB_SHA}" >> \${GITHUB_ENV}
      - name: Publish
        run: PUBLISH_GRAPH=true npm run start
        env:
          DEVTOOLS_API_KEY: CHANGE_THIS_TO_YOUR_API_KEY
          REPOSITORY_NAME: ${{ github.event.repository.name }}
          BRANCH_NAME: ${{ github.head_ref || github.ref_name }}
          TARGET_SHA: ${{ github.event.pull_request.base.sha }}
Hint For better security, store DEVTOOLS_API_KEY as a GitHub secret instead of hardcoding it. See Creating secrets for a repository.
This workflow runs on every pull request and on direct pushes to master. Adapt it to your project's needs; the one requirement is to provide the environment variables that GraphPublisher relies on.
Before the workflow can run, fill in the one remaining variable: DEVTOOLS_API_KEY. Generate a dedicated API key for your project on the API keys page.
Finally, go back to main.ts and fill in the publishOptions object we left empty earlier:
const publishOptions = {
  apiKey: process.env.DEVTOOLS_API_KEY,
  repository: process.env.REPOSITORY_NAME,
  owner: process.env.GITHUB_REPOSITORY_OWNER,
  sha: process.env.COMMIT_SHA,
  target: process.env.TARGET_SHA,
  trigger: process.env.GITHUB_BASE_REF ? 'pull' : 'push',
  branch: process.env.BRANCH_NAME,
};
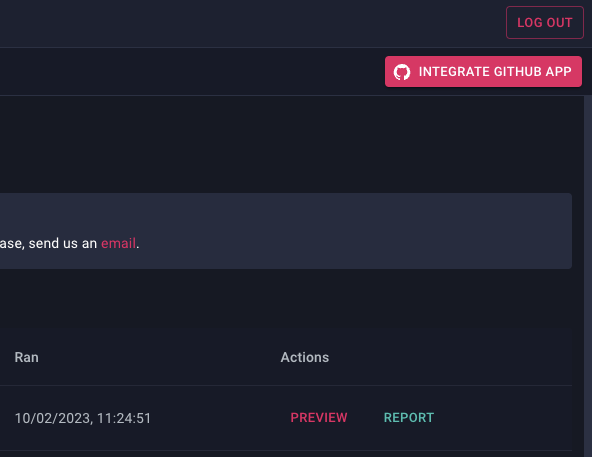
For the smoothest experience, we also recommend installing the GitHub application for your project by clicking "Integrate GitHub app" (see below). It's optional, but well worth it.
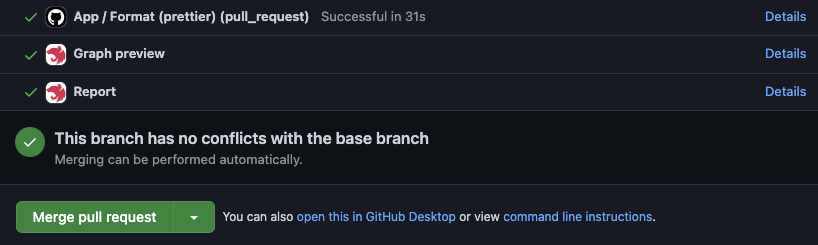
With the app installed, you see the status of your preview and report generation right inside the pull request:
Integrations: Gitlab Pipelines#
Create a .gitlab-ci.yml file in your project root with the following definition:
image: node:22

stages:
  - build

cache:
  key:
    files:
      - package-lock.json
  paths:
    - node_modules/

workflow:
  rules:
    - if: $CI_PIPELINE_SOURCE == "merge_request_event"
      when: always
    - if: $CI_COMMIT_BRANCH == "master" && $CI_PIPELINE_SOURCE == "push"
      when: always
    - when: never

install_dependencies:
  stage: build
  script:
    - npm ci

publish_graph:
  stage: build
  needs:
    - install_dependencies
  script: npm run start
  variables:
    PUBLISH_GRAPH: 'true'
    DEVTOOLS_API_KEY: 'CHANGE_THIS_TO_YOUR_API_KEY'
Hint As with GitHub, we recommend storing DEVTOOLS_API_KEY as a CI/CD secret instead of committing it.
This pipeline runs on every merge request and on direct pushes to master. Adjust it to fit your project, but make sure the environment variables that GraphPublisher needs are always present.
One variable in this definition still needs a real value: DEVTOOLS_API_KEY. Generate a dedicated API key for your project on the API keys page.
Finally, go back to main.ts and fill in the publishOptions object we left empty earlier:
const publishOptions = {
  apiKey: process.env.DEVTOOLS_API_KEY,
  repository: process.env.CI_PROJECT_NAME,
  owner: process.env.CI_PROJECT_ROOT_NAMESPACE,
  sha: process.env.CI_COMMIT_SHA,
  target: process.env.CI_MERGE_REQUEST_DIFF_BASE_SHA,
  trigger: process.env.CI_MERGE_REQUEST_DIFF_BASE_SHA ? 'pull' : 'push',
  branch:
    process.env.CI_COMMIT_BRANCH ??
    process.env.CI_MERGE_REQUEST_SOURCE_BRANCH_NAME,
};
Other CI/CD tools#
The integration doesn't depend on GitHub or GitLab. All GraphPublisher needs is a handful of values that describe the current build (what triggered it, which commit, which branch), so it works with any provider, including Bitbucket Pipelines, CircleCI, and more.
Here's the full publishOptions shape and what each field represents, so you can wire up any pipeline:
const publishOptions = {
  apiKey: process.env.DEVTOOLS_API_KEY, // This is your Nest Devtools API key
  repository: '?', // This is your repository name, for example, "my-api-repository"
  owner: '?', // This is your organization/team name, for example, "nestjs" OR in case of personal projects - your username
  sha: '?', // This represents the "current" commit SHA that triggered the workflow/pipeline
  target: '?', // This represents the "target" commit SHA (e.g., the last commit SHA of the "master" branch)
  // New build will be compared to the "target" build to generate a report
  // NOTE: Some CI/CD tools don't provide you with this information so instead, you can use the "targetBranch" property.
  // NOTE: In this case, the "target" commit SHA will be automatically resolved to the last commit SHA of the "targetBranch" stored in the database.
  // targetBranch: "master",
  trigger: isPr ? 'pull' : 'push', // Depending on whether the pipeline is triggered by a pull request or a regular push commit, you should set "pull" or "push"
  branch: '?', // This is the current branch name, for example, "develop" OR "feat/my-new-feature"
};
Most of these values are available in your CI/CD provider's built-in environment variables. See the CircleCI built-in environment variables and Bitbucket variables and secrets references as a starting point.
For your pipeline triggers, we recommend the following setup:
push: only for branches that represent a deployment environment, e.g.,master,main,staging, orproduction.pull request: always, or at least when the target branch is a deployment environment (see above).
This combination keeps your registry populated with a snapshot of every deployable state of master, while still generating a report on every pull request that targets it. That pairing is what makes reports useful in the first place.